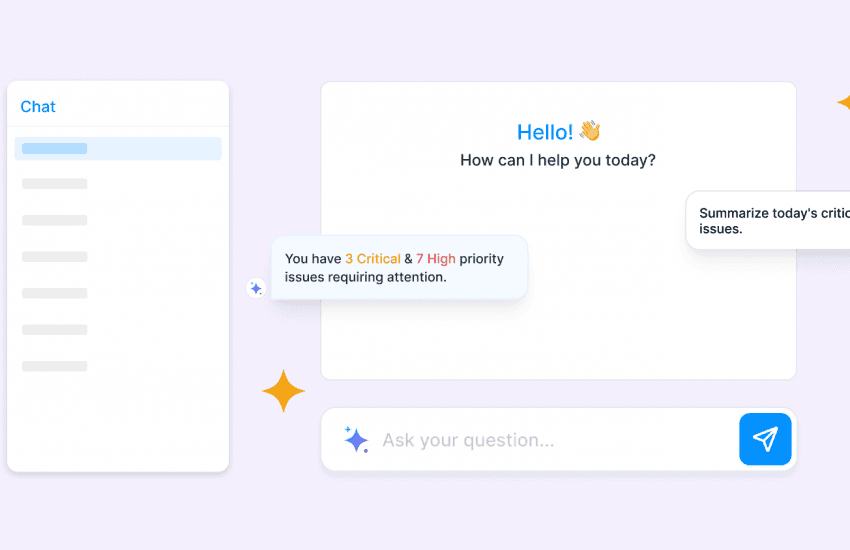
Close bugs faster with Auto Assignees
Manually assigning a bug/task to a team mate is so old school! Now you can set default assignees in your workflows to save time and get things moving faster with Bugasura Auto Assignee feature.
Overview
Earlier, when an issue is moved from one status to another in your Bugasura Projects, you would need to change the assignee manually.
Problem statement example: When developer fixes an issue and changes the status to Fixed, he would need to change the assignee to the tester to check the fix. If the developer forgets to change the assignee or misses doing this, the tester would not get notified about the fix causing delays in your entire communication workflow.
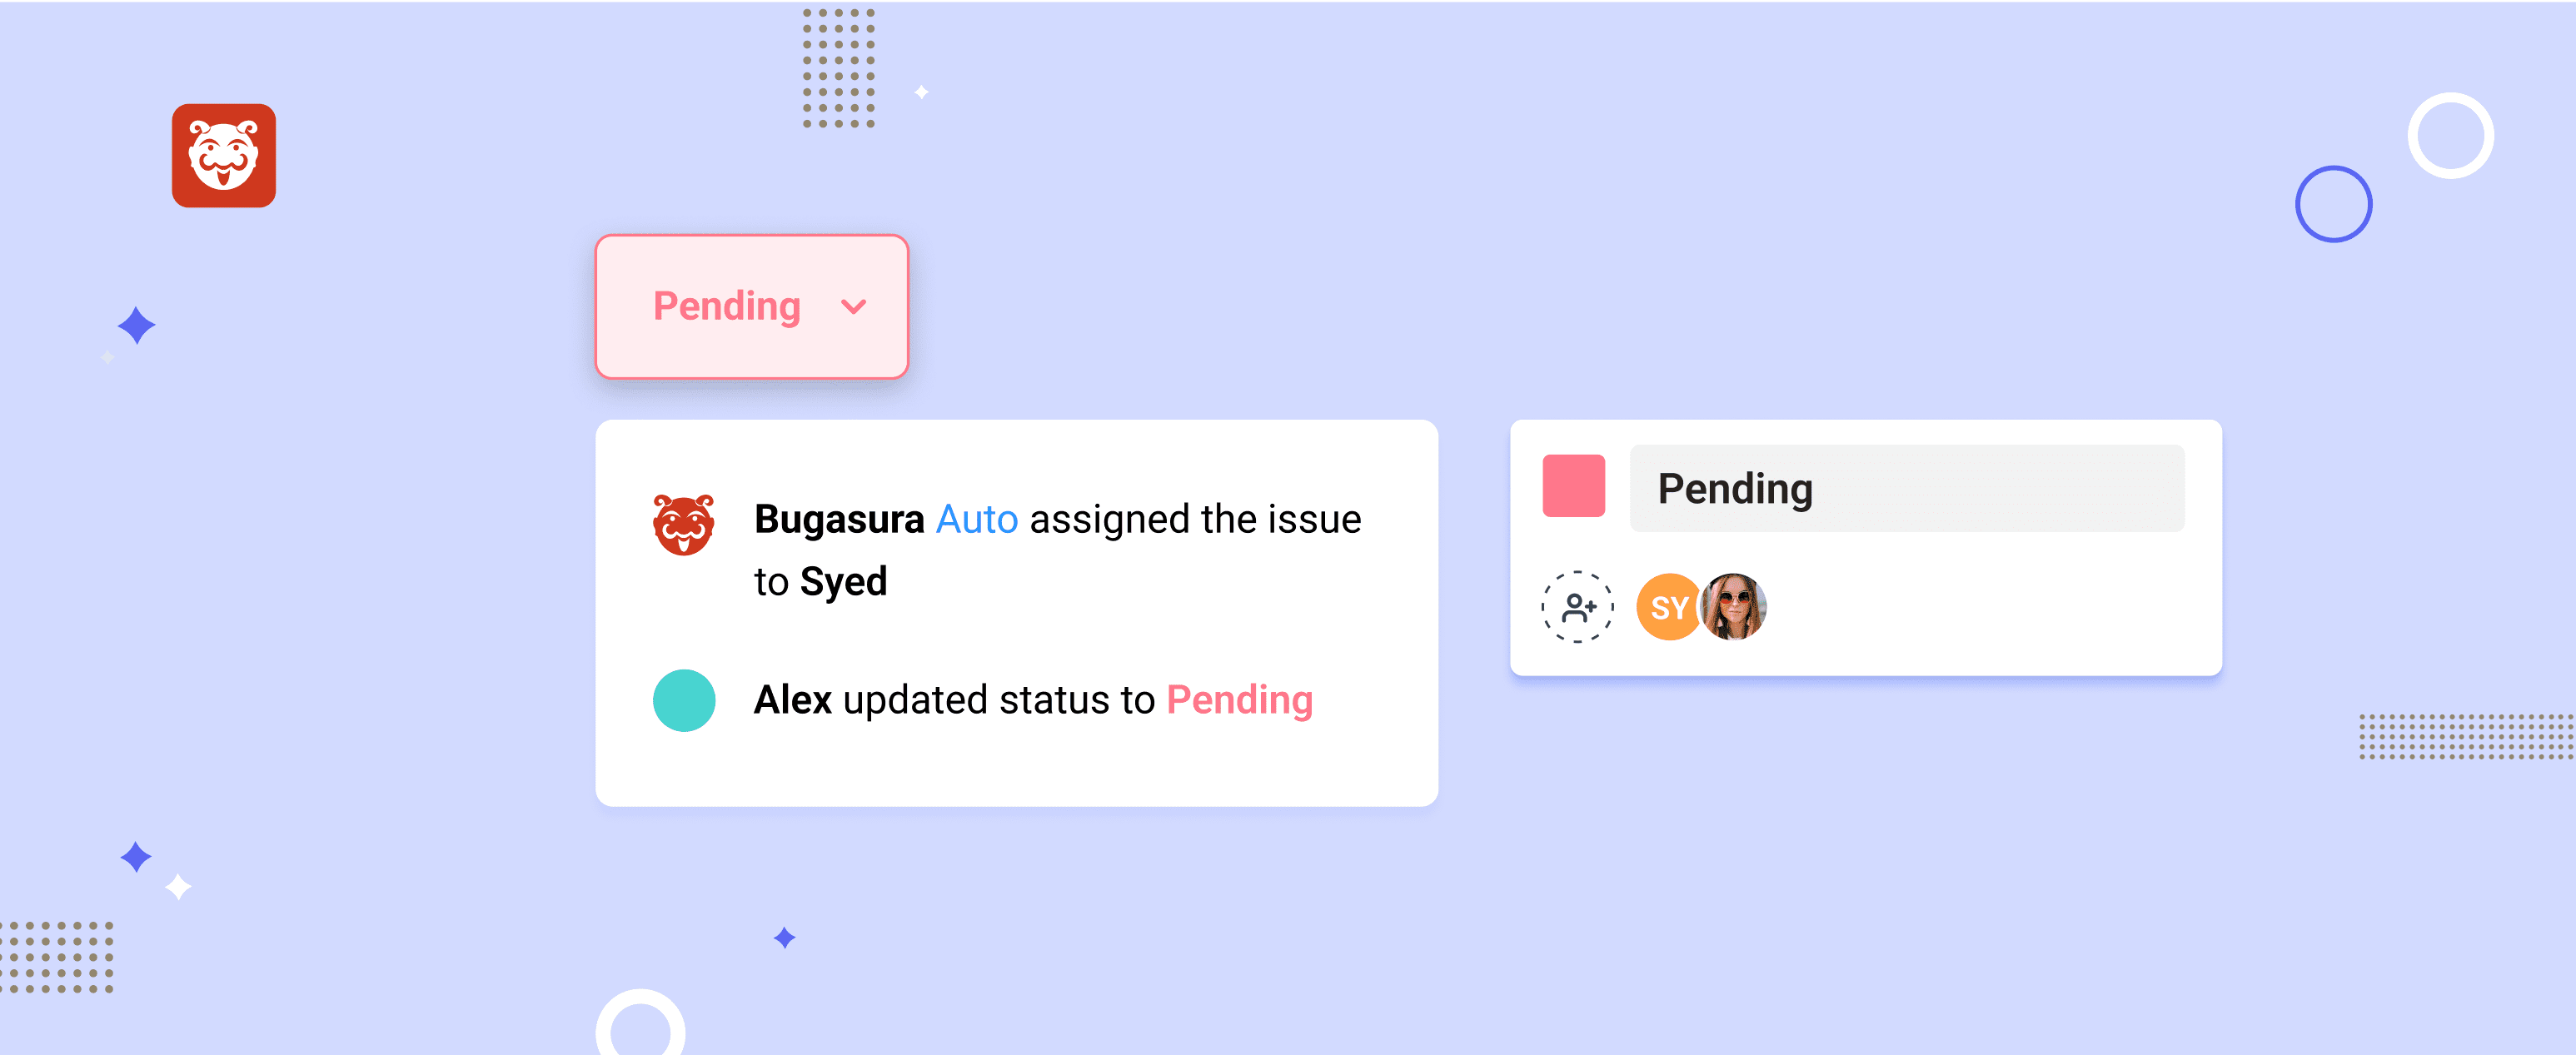
Introducing Auto Assignee on Bugasura
You can add auto-assignees to your project workflows so that when a status is changed, users are assigned from the default assignee list for that status automatically. This saves time and helps move things faster.
Why use the Bugasura auto-assignee feature?
It will help you move issues to closure faster. This feature also helps reduce time by automatically changing assignee list on status change.
Since it can be configured with Github, status changes can be triggered when a commit is pushed in Github with key words used in the commit message. If Github is integrated then status of multiple issues can also be changed in one go by using multiple issue IDs in a commit message.
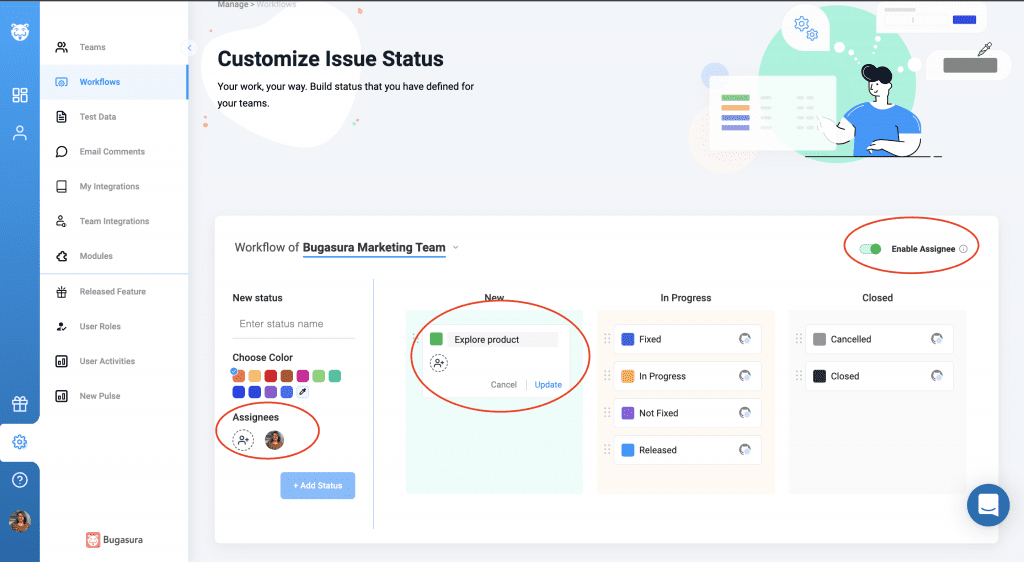
Set up
Assignee list can be added to each status in your Workflow page ( Manage > Workflow) by selecting a Team.
Configure github from Manage > Team Integration > Github.
Commit message magic words and Git Action can be set for Workflow Status on clicking Github icon of each Workflow Status.
How to use Bugasura Auto Assignee feature (with Github)
Step 1: Just enable Github integration for your team.
Step 2: Set the assignee list, the Github commit message magic words and Github actions from your Workflow page.
Step 3: Select a team project where Auto Assignee is set up.
Step 4: Add an issue to the selected project. Change the status to another where you’ve added a default assignee. You should be able to see the issue automatically assigned to your assignee.