
Bugasura and Jira are now in complete sync
Overview
Bugasura now provides a complete two-way sync with Jira, which was a popular request from our users. This integration enables seamless syncing of issues between Bugasura and Jira, ensuring that both platforms have the most up-to-date information.
Introducing Jira Sync
The new Jira sync feature allows users to easily map system and custom fields between Bugasura and Jira. Changes in Jira will be reflected in Bugasura, ensuring that both platforms remain in sync. This integration streamlines the workflow for teams that use both Bugasura and Jira, improving issue management efficiency.
Why Should You Use It?
The Bugasura and Jira sync offers several benefits, including:
- Streamlined workflow: Easily sync issues between Bugasura and Jira without manual effort.
- Real-time updates: Changes made in Jira are immediately reflected in Bugasura, ensuring both platforms have the latest information.
- Enhanced collaboration: Teams can collaborate more effectively by using Bugasura and Jira together.
Usage
To sync Jira issues with Bugasura, follow these steps:
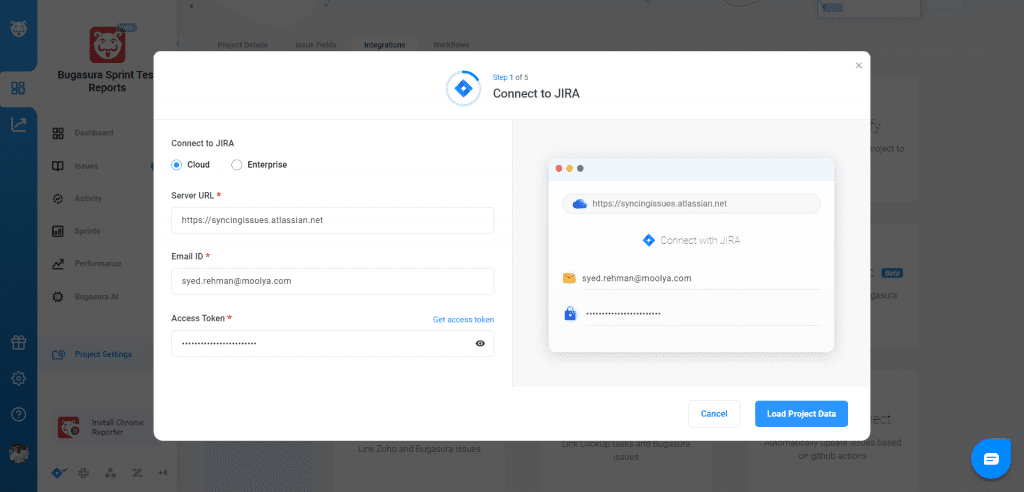
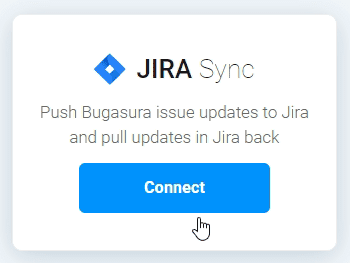
Connect to Jira: Enter your Jira credentials and select the type of Jira you are using (Cloud-based or Enterprise-based). Provide the Jira Server URL, email ID, and access token. Click the “Load project data” button.
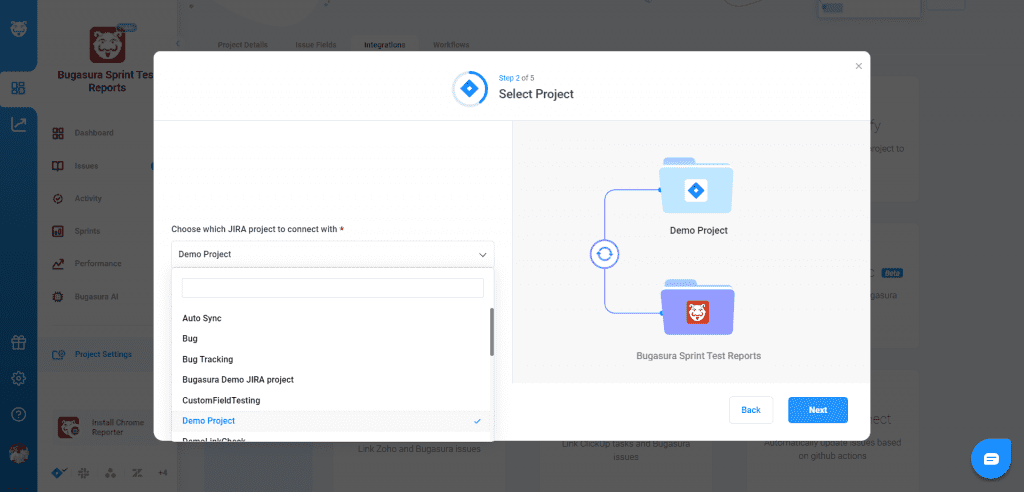
Select Jira Project: Pick the project you want to sync Bugasura issues with from the dropdown list of Jira projects.
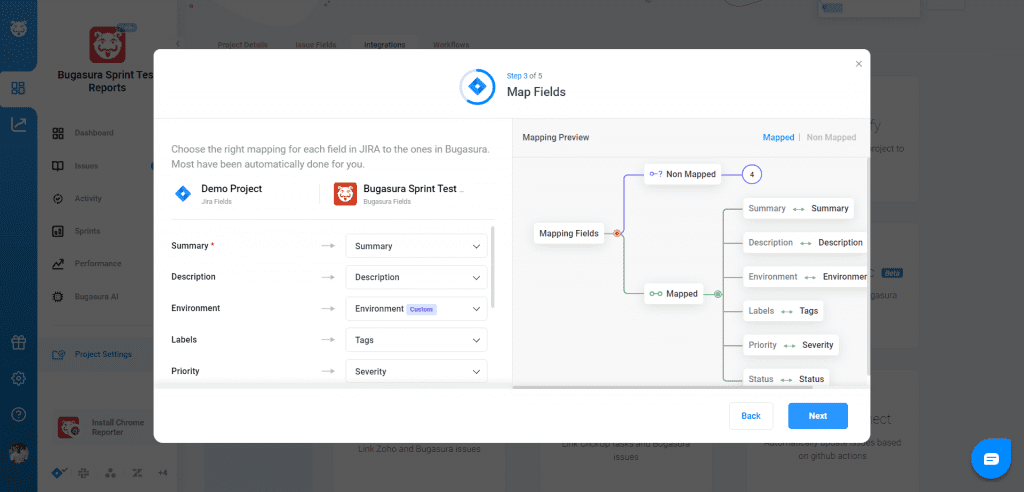
Map Fields: Review and choose the mapping for each field in Jira to the corresponding field in Bugasura.
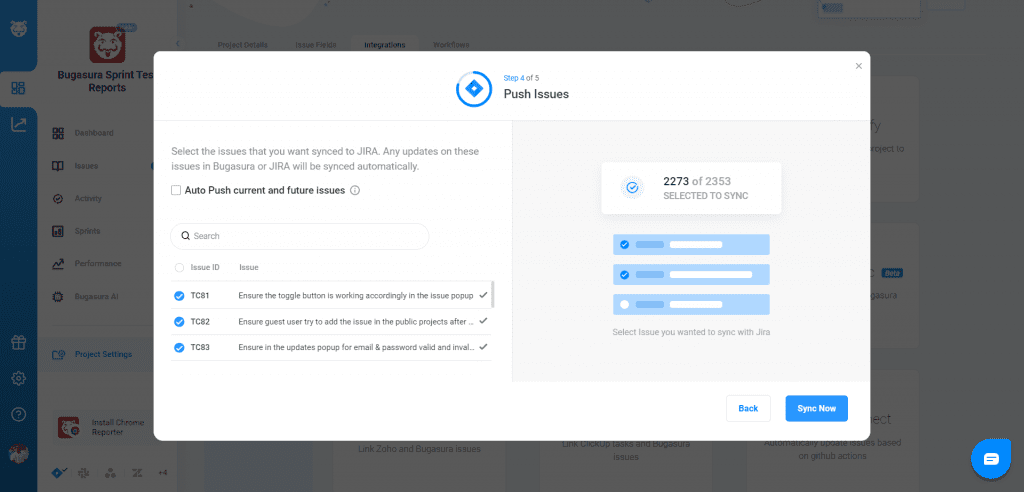
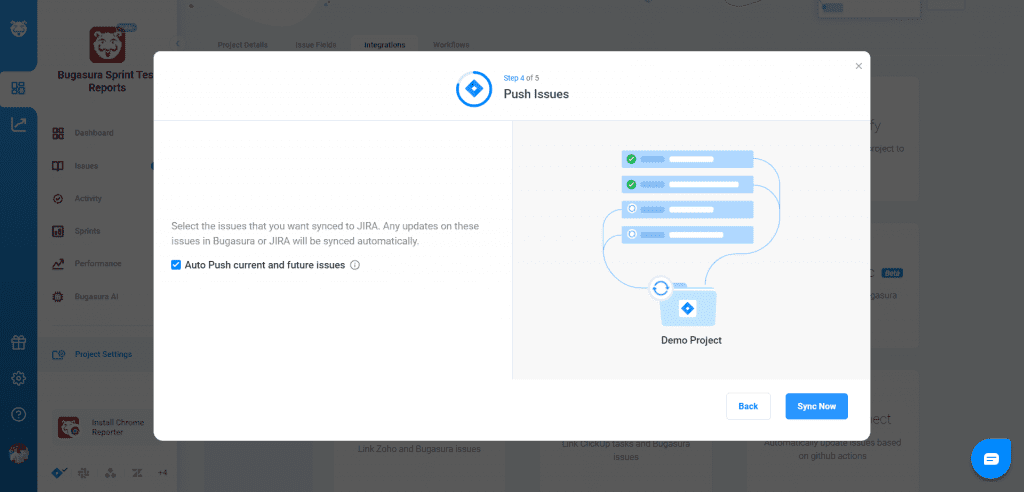
Push Issues: Select the issues you want to sync or choose the auto-push option to sync all current and future issues. Click “Sync” to finish the sync process.
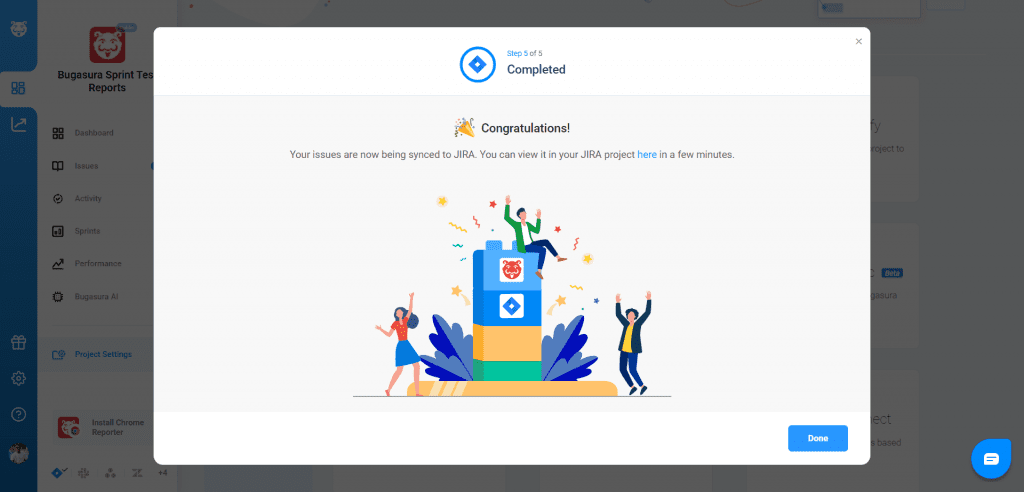
Success Screen: A success screen with a link to your Jira project will appear. Click “Done” to complete the sync process.
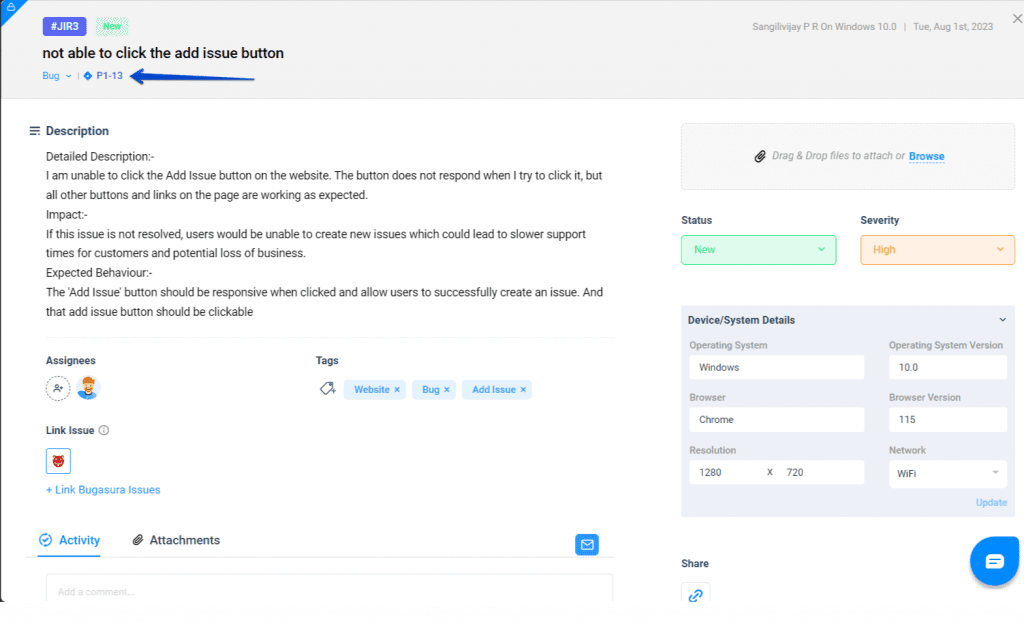
Once synced, a Jira ID will be displayed under the Bugasura issue clicking on it redirects to the Jira page linked issue.
Try Now
Experience the seamless integration of Bugasura and Jira by syncing your issues today. Visit the Integration page in Project Settings to get started. We’re excited to hear how this integration helps you #CloseBugsFaster.